How to Import a MailChimp Email Template into Drip

Step 1: Export your MailChimp template
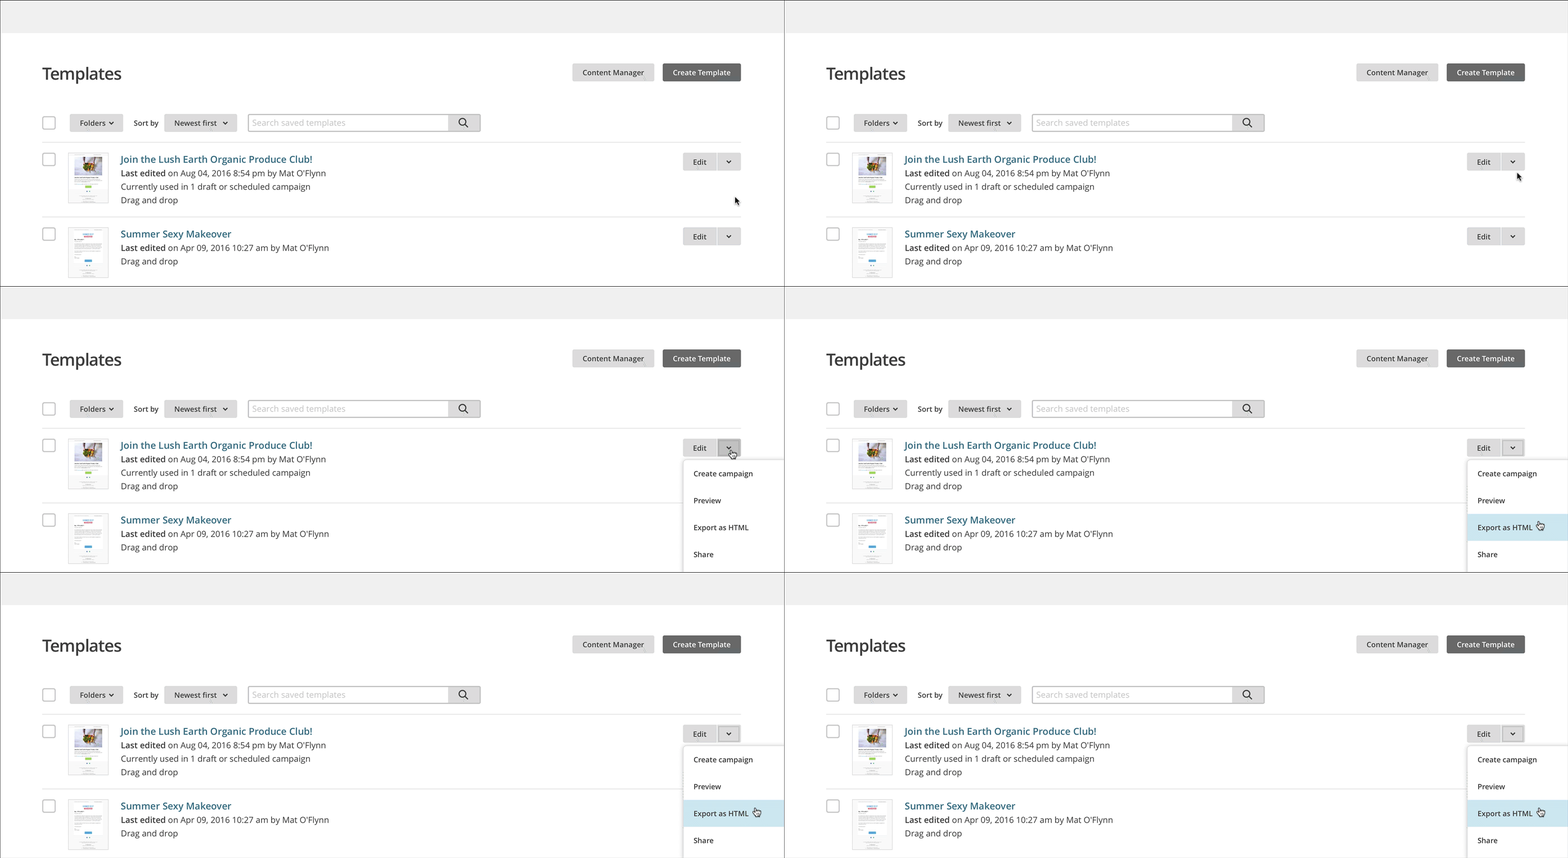
After logging into your MailChimp account head over to the ‘Templates’ tab to view your existing email templates. To export your desired template, click the drop down arrow to the right of the template name and click ‘Export as HTML’.
Step 2: Open your recently exported MailChimp template in a code editor
In order to modify the code in the HTML email template you just exported we’ll need a code editor like Adobe Dreamweaver (other free options include Brackets, Atom, Sublime Text, or even a text editor like ‘TextEdit’ on a Mac). To open it in your code editor of choice right click on the file and click ‘Open With’ > Code Editor Name.

Step 3: Add Drip’s Liquid email content script and footer script
This next bit is a bit trickier to explain, but the video provides a better visual example at 0:56.
Drip utilizes two snippets of Liquid code (commonly referred to as Liquid or as a Liquid script) to dynamically place your footer content such as your postal address / email preferences and email content (everything that you enter into Drip’s WYSIWYG email editor) into your Drip emails. Some really cool things can be done with these dynamic Liquid snippets but we’ll save that for a future tutorial!
In this step we’ll cover where to place Drip’s Liquid code in your email template so that you can easily upload it to Drip.
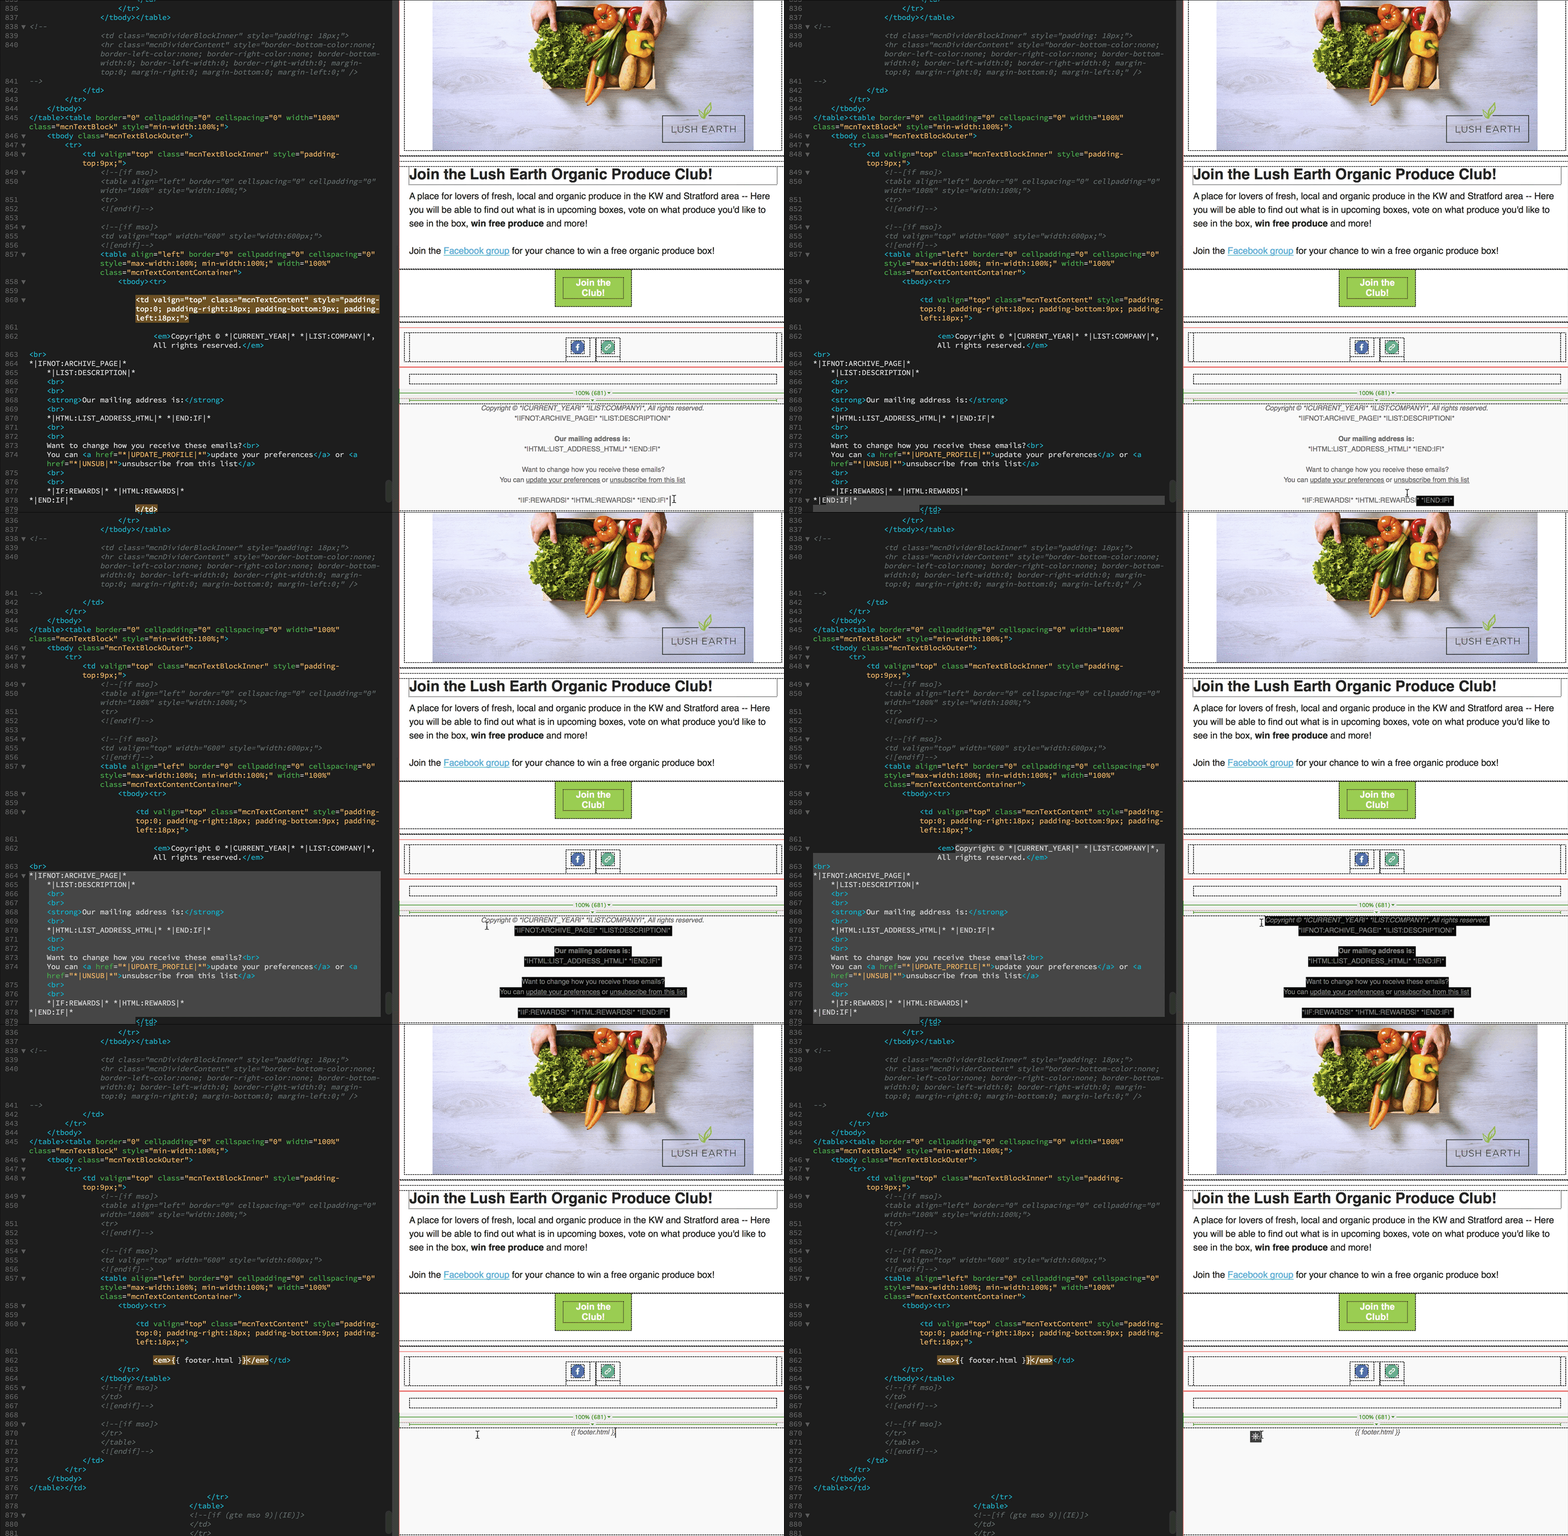
Starting with the footer, if you highlight the existing MailChimp text (starting with ‘Copyright ©’ and ending with ‘*|END:IF|* ‘ in our example) and hit the ‘Delete’ key you can then enter the necessary Liquid footer script below:
Stylistically, the {{ footer.html }} Liquid script should match the same look as your existing MailChimp footer text (i.e. centered if the MailChimp footer text was previously centered, etc.).
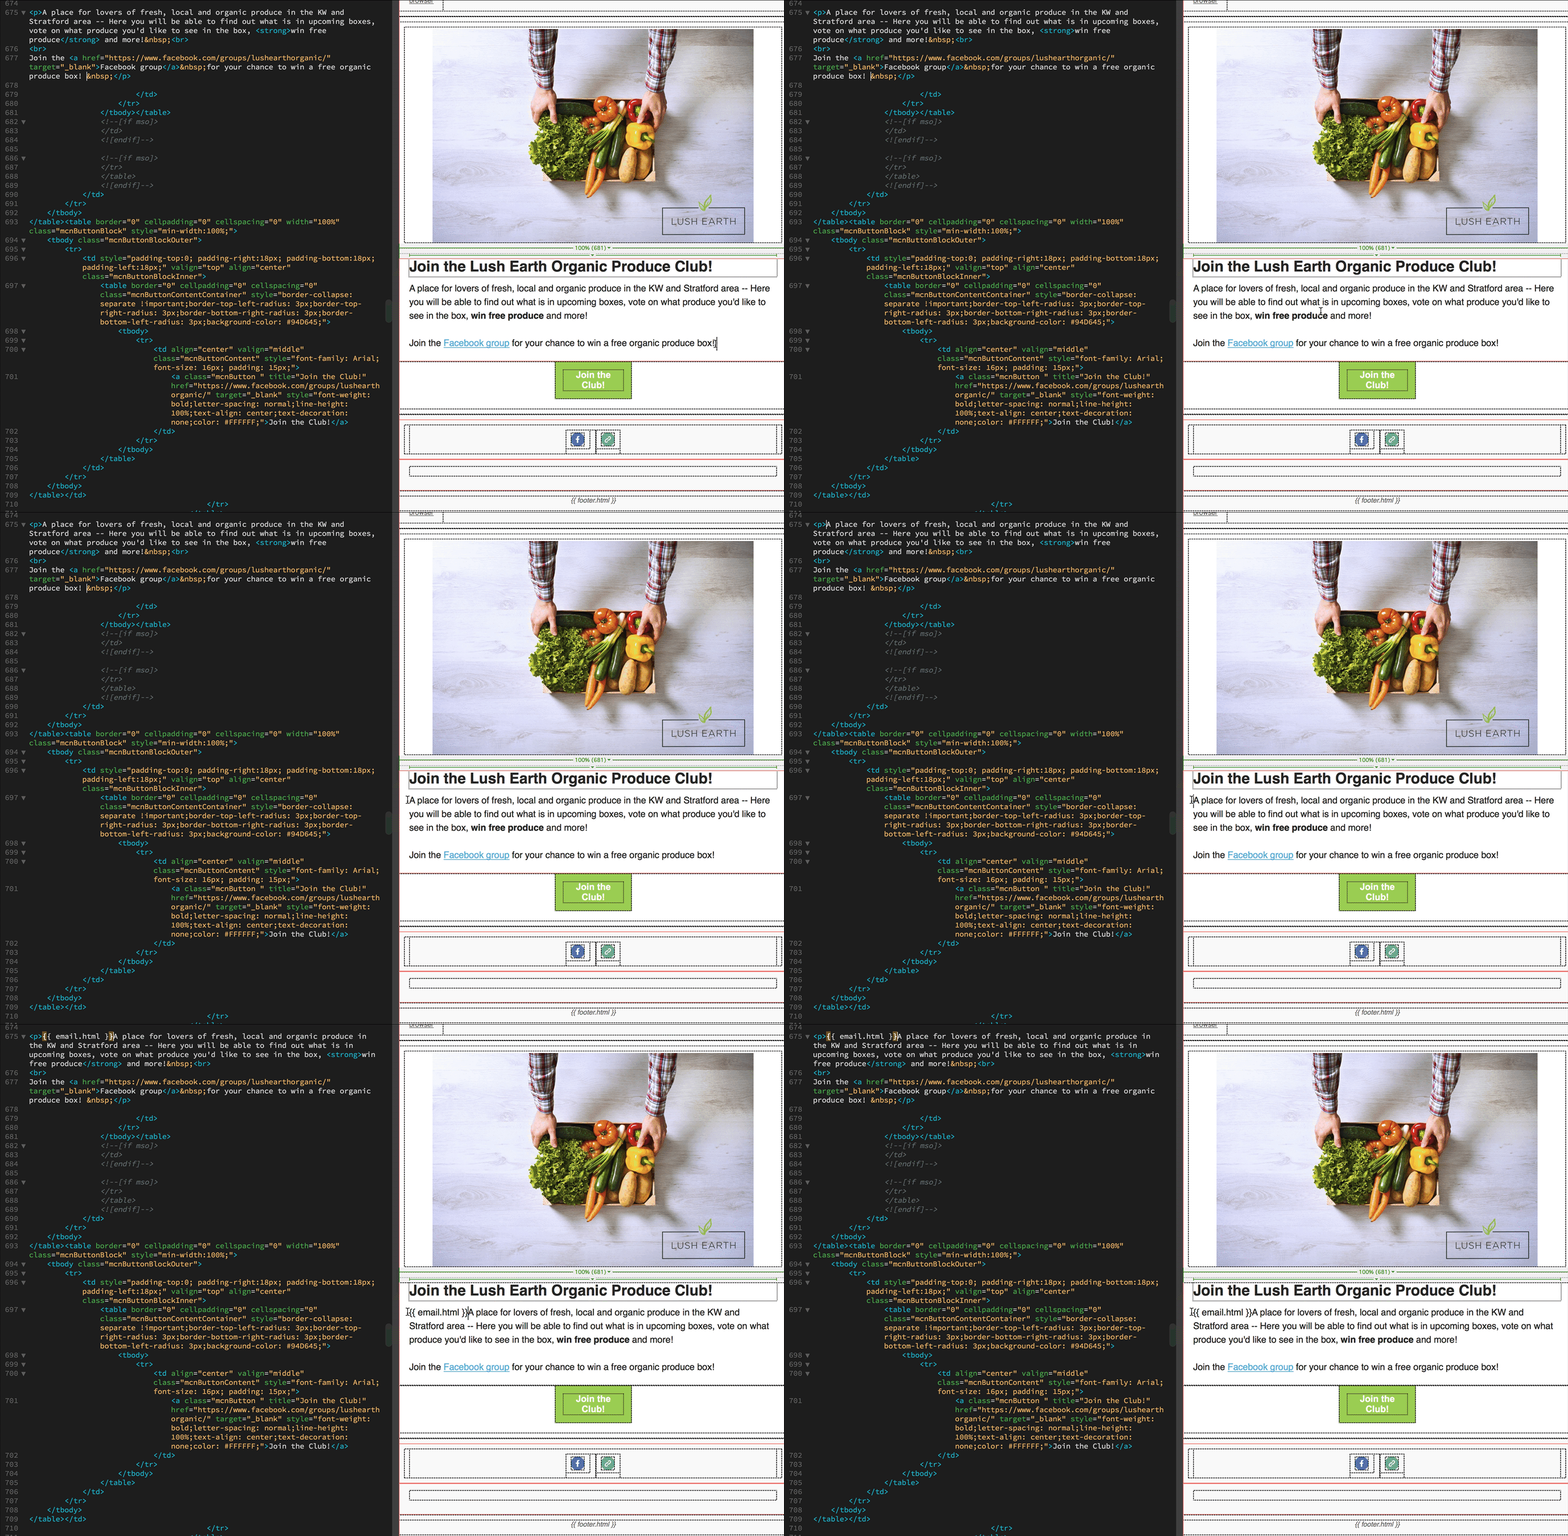
Next, we need to add the email content Liquid code below:
to the beginning of the the first block of text in the template (right before ‘A’ in our template example).
Important Note: Simple vs Complicated Templates
If your MailChimp email template is very simple (i.e. has only one content section such as one place for text) then you can optionally highlight the entire block of text such as in the example below so that you can use Drip’s WYSIWYG email editor to enter new content in that section.
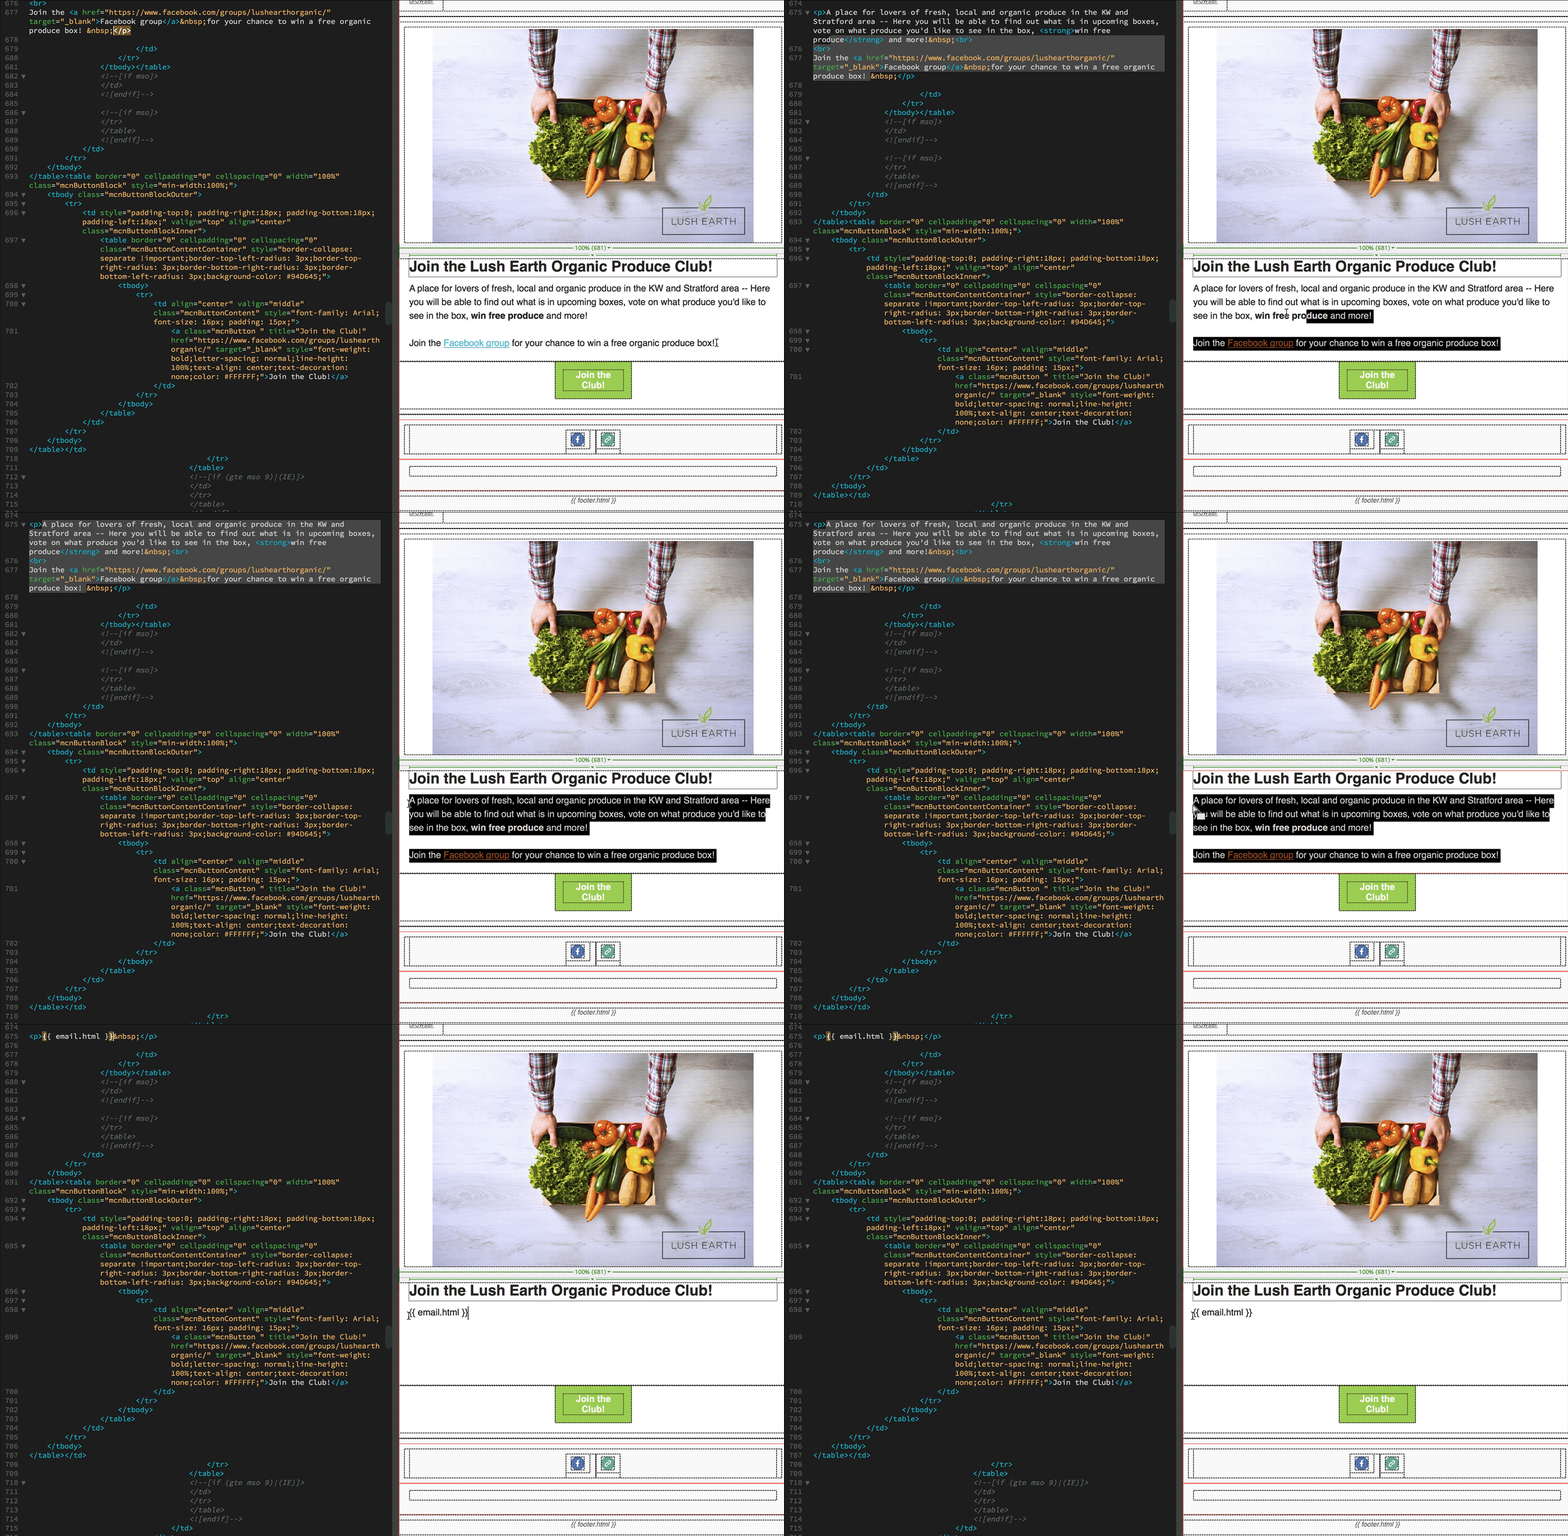
If your email template is more complicated (i.e. has multiple columns, images and locations for text) you will still need to paste the email content Liquid script {{ email.html }} into your template (as it’s required to import the template into Drip), but instead of using Drip’s WYSIWYG email editor to add content to the template you would modify the template in MailChimp, export it again etc. if you needed to make changes to it (i.e. for another broadcast email you were interested in sending).
Step 4: Import your template into Drip!
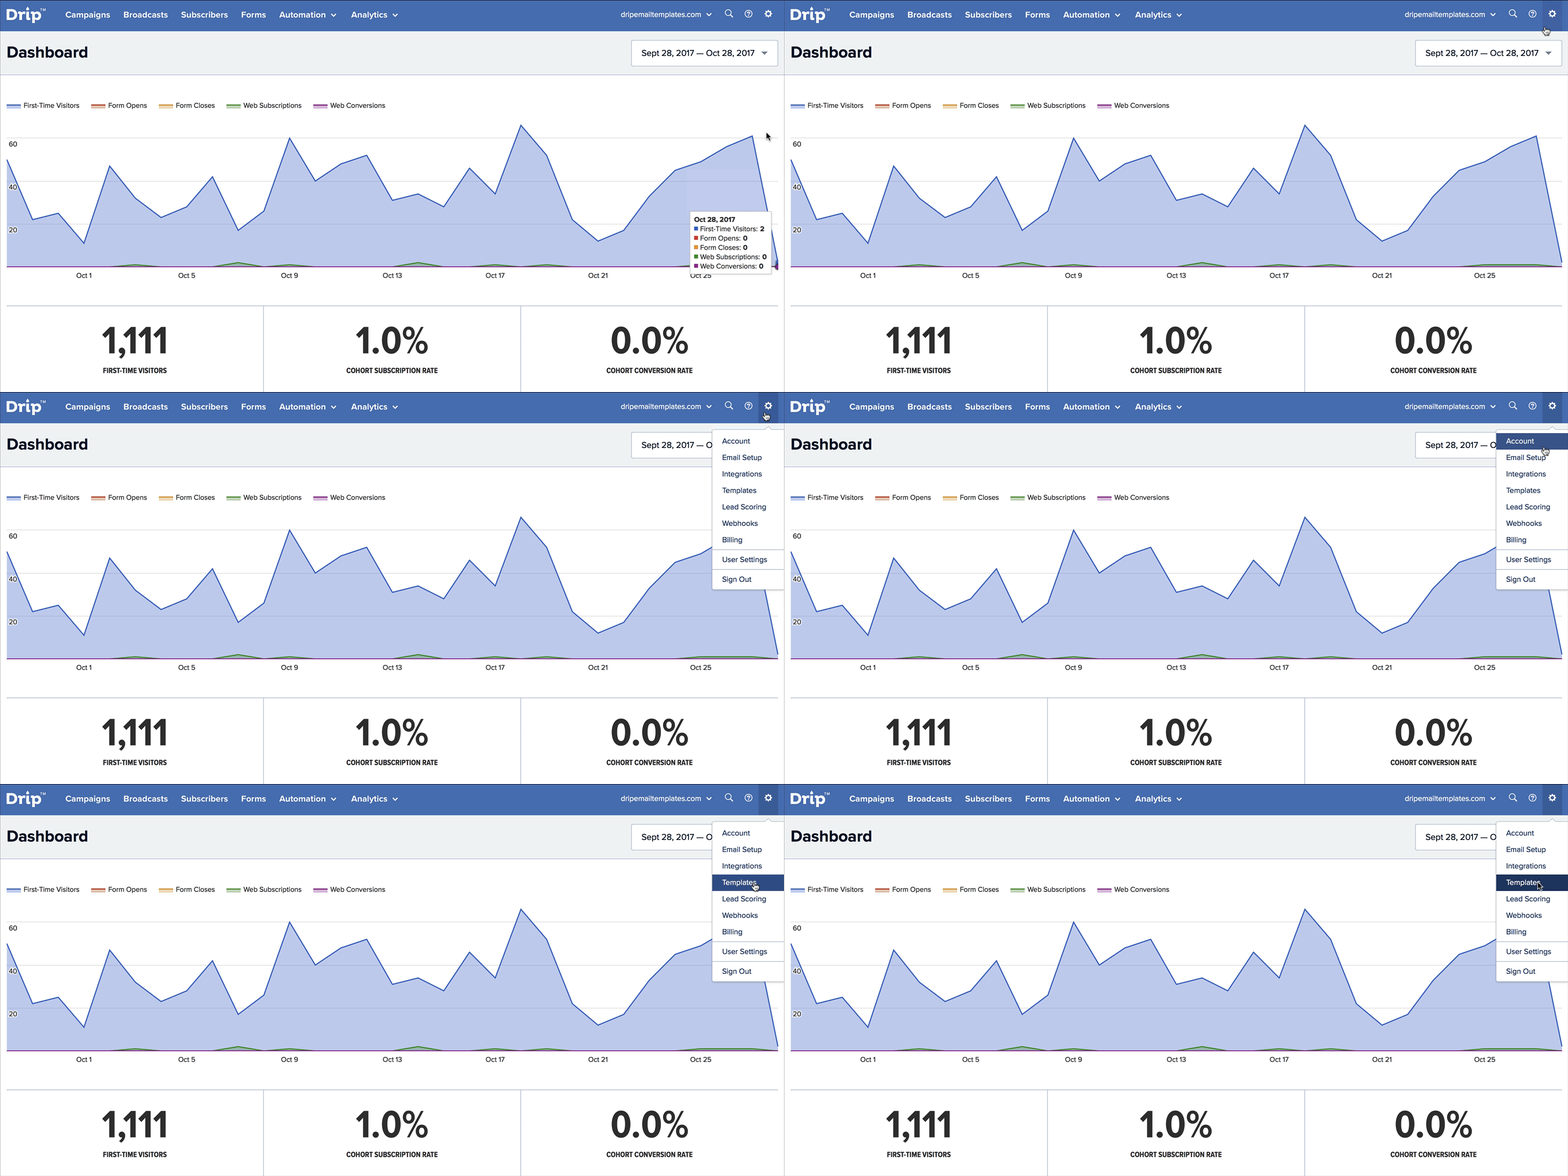
Now that you’ve made all of the necessary template modifications you’re now ready to import the template into your Drip account! To do this, after logging into your Drip account, click the settings gear in the top right corner of your Drip account followed by ‘Templates’.
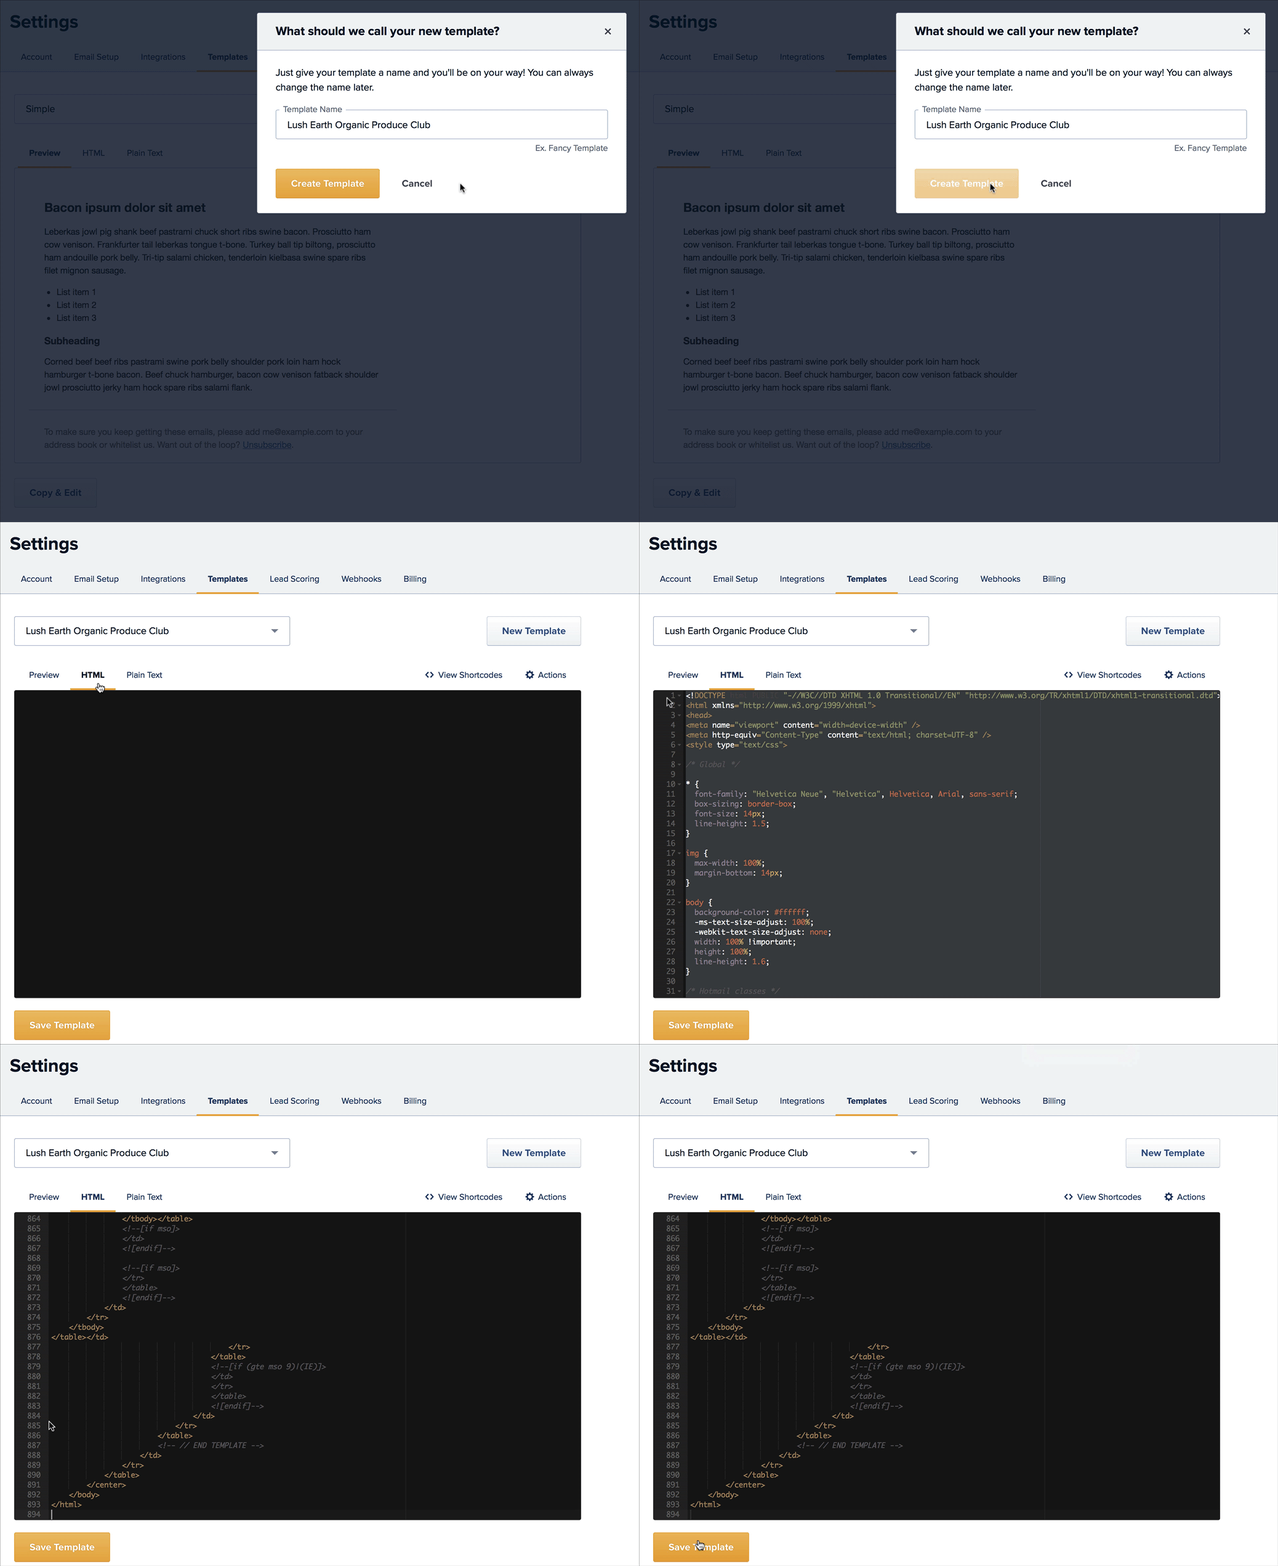
Then, click the ‘New Template’ button, enter a name for your template and click the ‘Create Template’ button.
The final step of the importing process is to click on the ‘HTML’ tab, highlight the existing code and delete it. Next you’ll want to select and copy all of the code from the MailChimp template you previously modified and paste it in the HTML tab that you just deleted the existing code from.
Click the ‘Save Template’ button and that’s it.
Step 5: Test it!
If you’re using an existing drag and drop Leadpages template that has pre-populated text, you’ll want to replace the the pre-populated text with a new text widget.
Unfortunately when you published your Leadpage at the end of step 4, the existing text on the Leadpage didn’t update to your brand’s Google Web Font. To fix this you simply have to drag a new text widget onto the page and republish the page for your new Google Web Font to display.
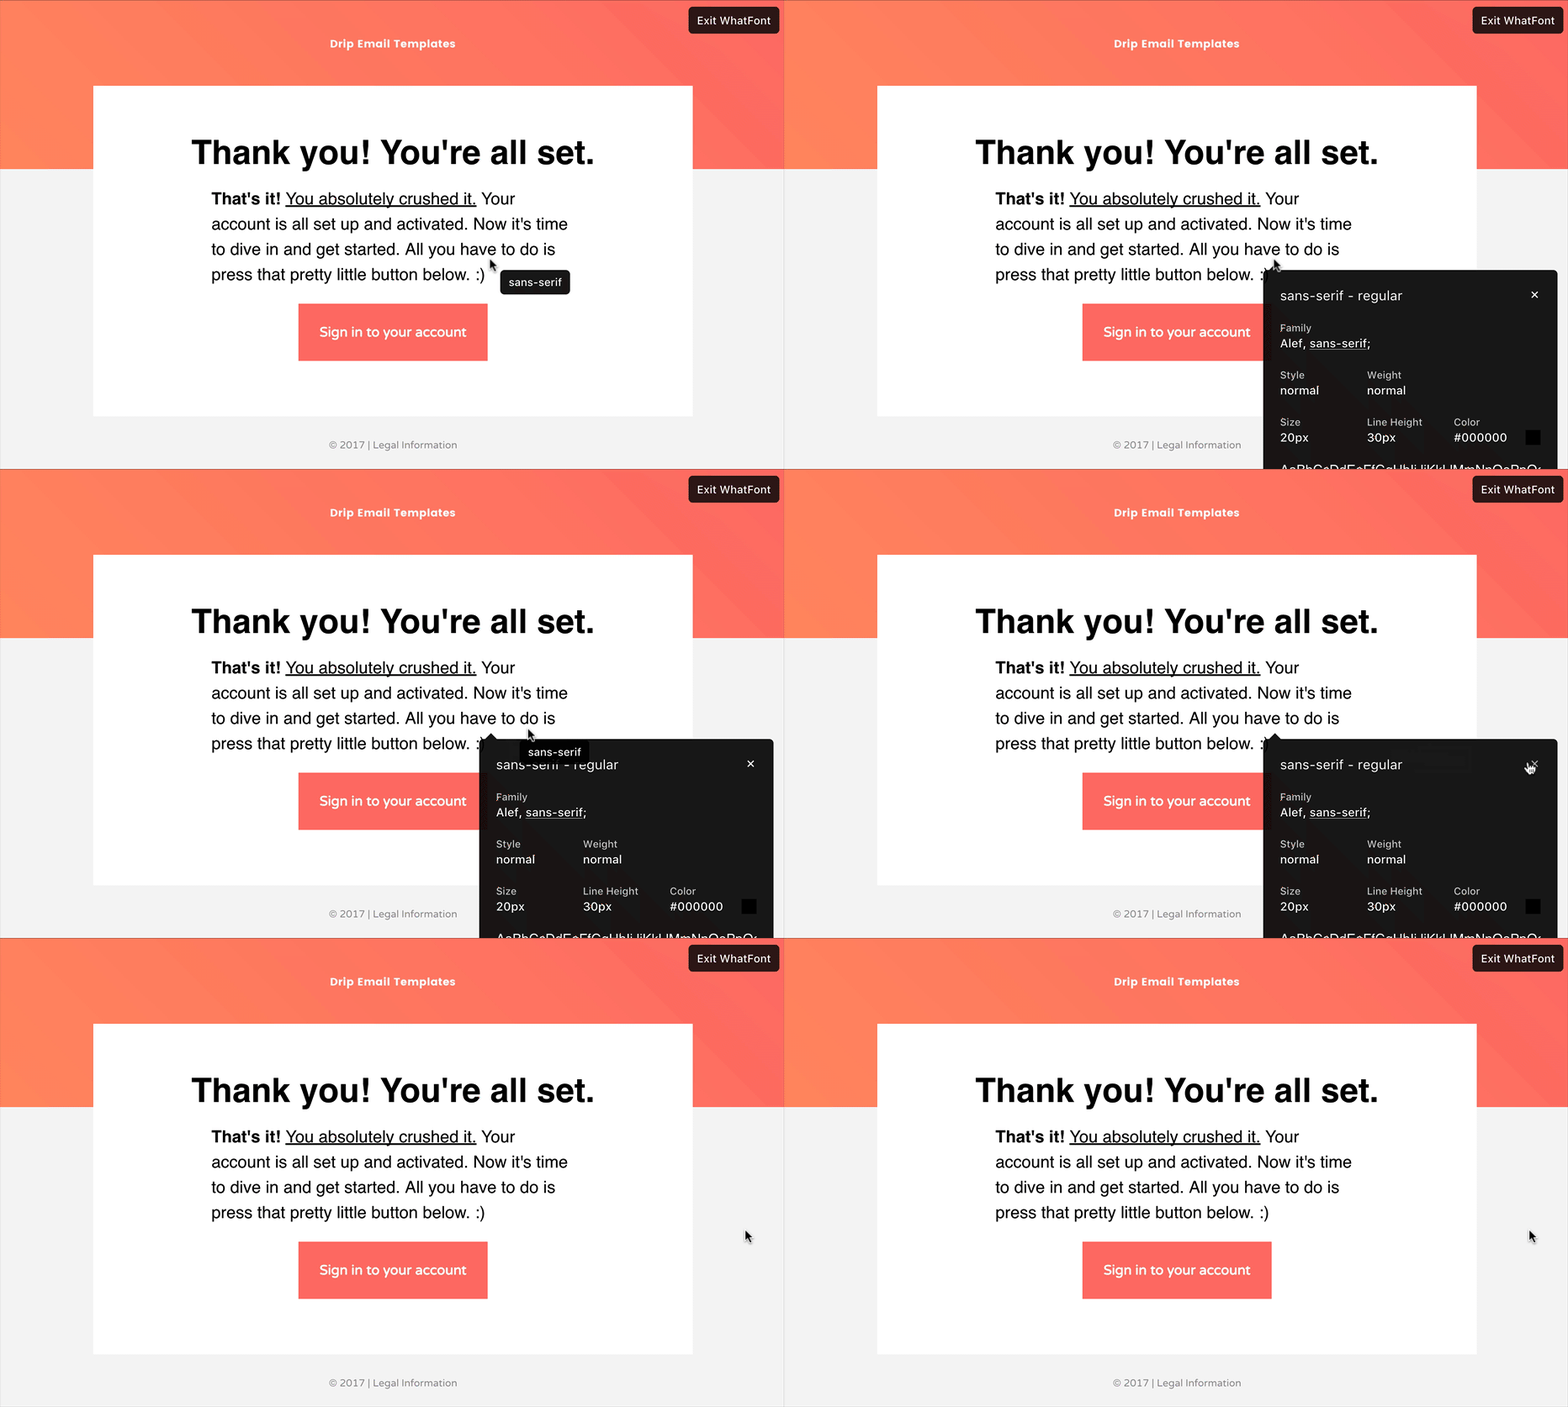
Your Leadpage is Now Using Your Brand’s Google Web Font!
Congrats! You should now be the proud owner of a Leadpage that includes your brand’s Google Web Font.
As a bonus, you can now even use the Leadpages drag and drop text editor to adjust your font sizes, stylize your text such as by bolding or underlining as well as other modifications without any further custom code! That’s a big win in our opinion!
Important Note: If you experience any trouble or need one-on-one help we’re always available
Run into any issues? Leave a comment below and we’ll do our best to get back to you right away!
Or, if you need to make even more custom edits to your Leadpages, the Drip Email Templates team can help! We not only build custom Drip Email Templates to match your branding but also design custom Leadpages so that your brand identity is synced across all mediums.


